Your Personal AI Dev Lab: Setting Up a Secure VPS on DigitalOcean with VSCode Remote Development

By RJ Militante · April 2026
I've been thinking of what my ideal Dev setup would be, an always-on resource that would allow me the most flexibility across situations, and arrived on setting up a VPS on DigitalOcean as a remote Dev server and AI Agents Lab.
If you're a solo developer or indie hacker, having a personal VPS is one of the best investments you can make. It gives you a remote dev box you can code on from anywhere, a place to run agents overnight, and a central hub for all your projects — all for around $24/month.
What that actually looks like in practice:
- Remote development in any language — Node.js, Python, Go, whatever you need, running on a machine that's always on
- Claude Code over VSCode Remote SSH — full AI-assisted development without extra API costs, covered by your existing Pro subscription
- A place to host and test APIs — run Nginx, expose endpoints, test webhooks without touching production
- An AI agent lab — kick off long-running experiments, autonomous agent loops, or overnight jobs and come back to results
- Accessible from anywhere — your MacBook, a cheap laptop, a tablet with a keyboard — the compute lives on the server, not the device
Here's exactly how I built it, step by step.
What You'll Have By the End
- A secure DigitalOcean droplet running Ubuntu 24.04
- A non-root user with SSH key authentication (no more passwords)
- A firewall blocking everything except what you need
- Node.js, Python, and pipx installed and ready
- A clean project folder structure
- VSCode connected to your VPS over SSH
- Claude Code running inside VSCode using your Pro subscription
The Droplet
I'm running the following setup on DigitalOcean:
- 4 GB Memory / 2 Intel vCPUs / 120 GB Disk
- Ubuntu 24.04 (LTS) x64
- Region: SFO3
- Cost: ~$24/month
The 4GB RAM is comfortable — enough for development, running agents, and a Ghost blog simultaneously without sweating memory.
Phase 1: Secure the Droplet
The first thing you do with a fresh VPS is lock it down. Bots constantly scan DigitalOcean IP ranges looking for open ports. Don't leave the front door open. DigitalOcean's Initial Server Setup guide covers the same principles if you want more depth on any of these steps.
Generate SSH Keys on Your Mac
ED25519 is the recommended algorithm — faster and more secure than RSA. DigitalOcean has a full breakdown in How to Configure SSH Key-Based Authentication on a Linux Server if you want the details.
ssh-keygen -t ed25519 -C "your@email.com" -f ~/.ssh/do_droplet
cat ~/.ssh/do_droplet.pub
Create a Non-Root User
# Log in as root one last time
ssh root@YOUR_DROPLET_IP

# Create your user
adduser rj
usermod -aG sudo rj

# Set up SSH directory
mkdir -p /home/rj/.ssh
chmod 700 /home/rj/.ssh
Add Your SSH Key
nano /home/rj/.ssh/authorized_keys
# Paste your public key, save and exit

chmod 600 /home/rj/.ssh/authorized_keys
chown -R rj:rj /home/rj/.ssh
Disable Root and Password Login
nano /etc/ssh/sshd_config
Set these:
PermitRootLogin no
PasswordAuthentication no
PubkeyAuthentication yes
systemctl restart ssh
Test Before Closing Root Session
Open a new terminal and test your new user before closing the root session. This is the step that saves you from locking yourself out.
ssh -i ~/.ssh/do_droplet rj@YOUR_DROPLET_IP
sudo whoami # should return: root
Phase 2: SSH Config Shortcut
Add this to ~/.ssh/config on your Mac so you can just type ssh ailab:
Host ailab
  HostName YOUR_DROPLET_IP
  User rj
  IdentityFile ~/.ssh/do_droplet
  UseKeychain yes
  AddKeysToAgent yes
Then add the key to your Mac keychain:
ssh-add --apple-use-keychain ~/.ssh/do_droplet
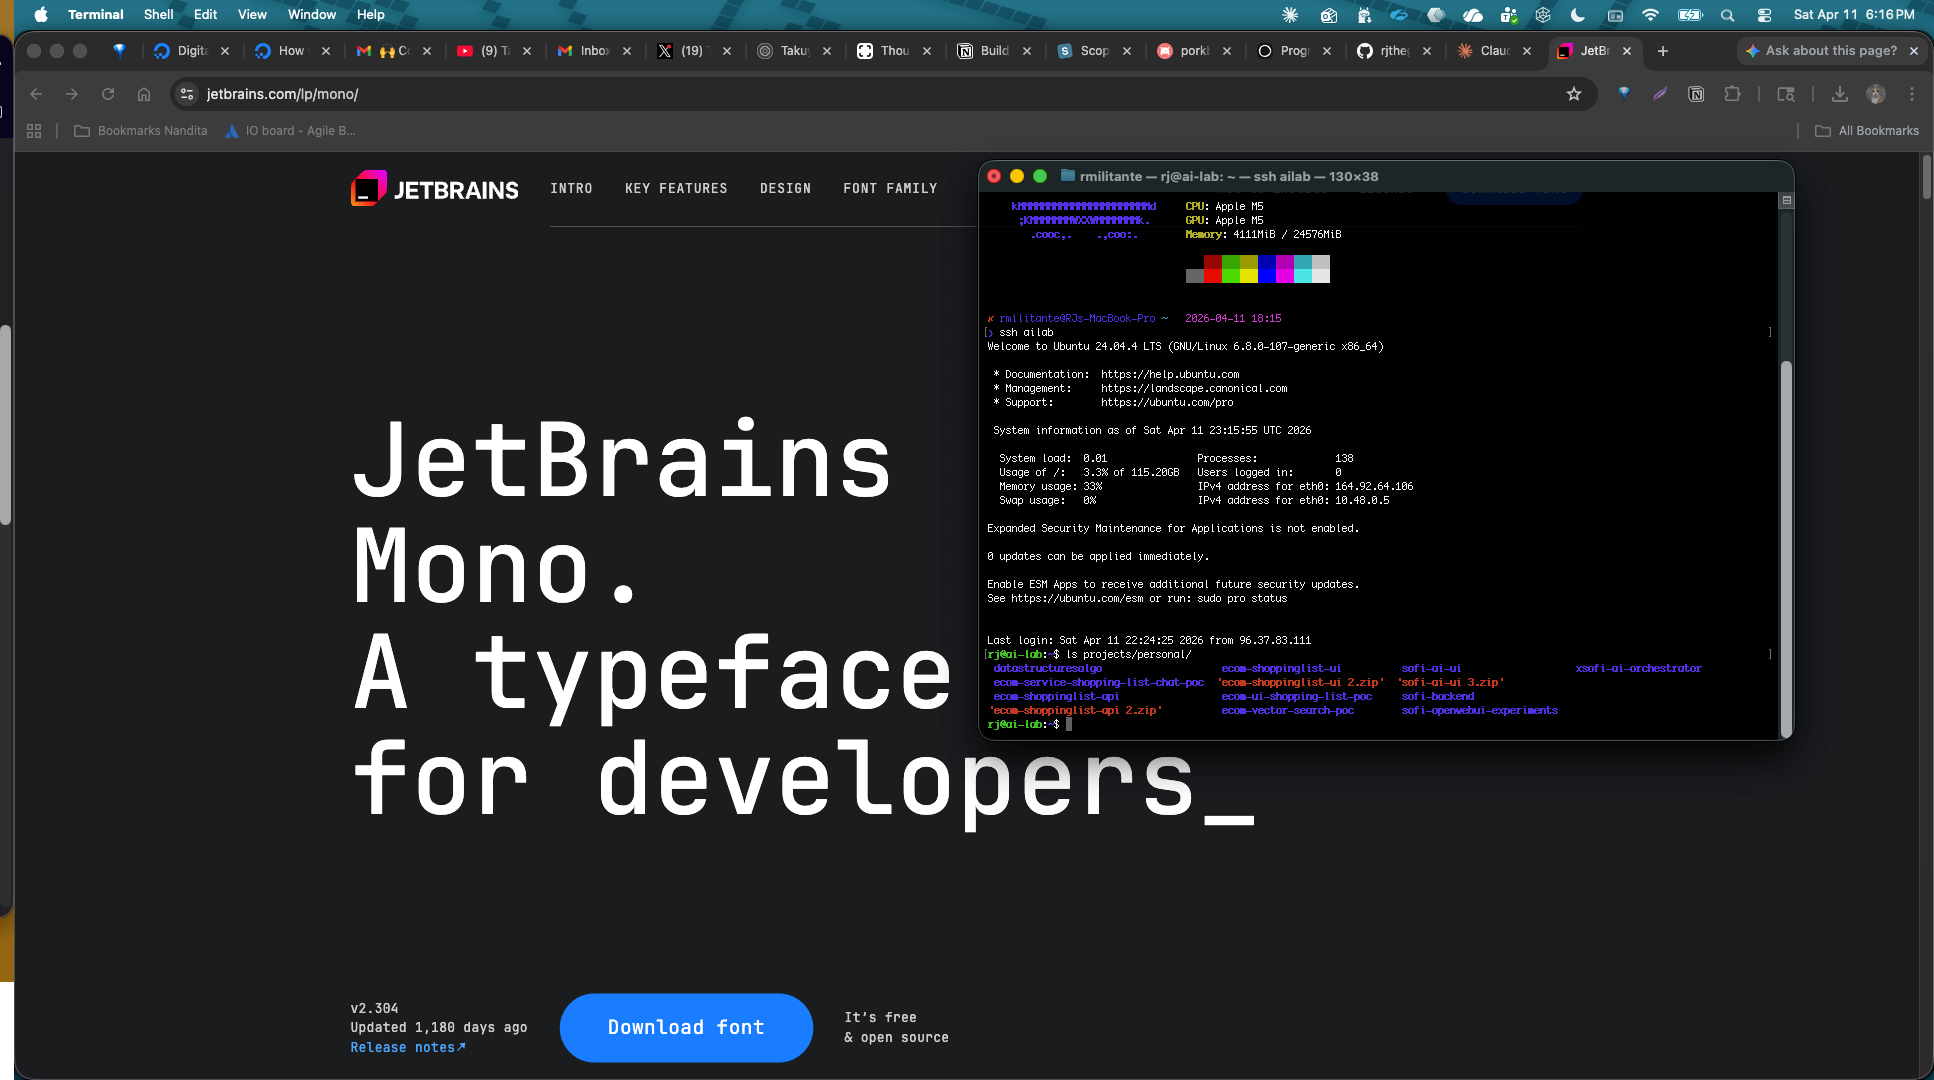
Now connecting is just:
ssh ailab
Phase 3: Install Dev Tools
sudo apt update && sudo apt upgrade -y
sudo apt install -y git curl wget build-essential tmux htop ufw

# pipx
sudo apt install -y pipx
pipx ensurepath

# Node.js via nvm
curl -o- https://raw.githubusercontent.com/nvm-sh/nvm/v0.39.7/install.sh | bash
source ~/.bashrc
nvm install --lts

# Verify
node --version
nvm --version
pipx --version
Phase 4: Firewall
Three commands, 30 seconds, done. If you want to go deeper on UFW rules — allowing specific ports, blocking IPs, setting up application profiles — DigitalOcean's UFW guide is the best reference.
sudo ufw allow OpenSSH
sudo ufw enable
sudo ufw status
Run them in that order. When it asks to proceed, type y. OpenSSH stays open, everything else gets blocked. Add ports as you need them when you spin up services.
Phase 5: Project Structure
mkdir -p ~/projects/ai-lab/{agents,experiments,scripts,notes}
mkdir -p ~/projects/personal
mkdir -p ~/projects/agnx-systems
Clean separation from day one:
ai-lab/— agent experiments and automationpersonal/— personal projectsagnx-systems/— whitelabel products and business projects
Phase 6: Connect GitHub
Generate a separate SSH key on your VPS for GitHub:
ssh-keygen -t ed25519 -C "your@email.com" -f ~/.ssh/ai-lab-vps
cat ~/.ssh/ai-lab-vps.pub
Add the public key to GitHub → Settings → SSH Keys.
Add to ~/.ssh/config on your VPS:
Host github.com
  HostName github.com
  User git
  IdentityFile ~/.ssh/ai-lab-vps
Test it:
ssh -T git@github.com
# Hi rjthegreatxx! You've successfully authenticated.
Phase 7: VSCode Remote Development
This is the part that ties everything together. Instead of working in the terminal, you can use VSCode on your Mac as a full IDE while your code runs on the VPS.
Install Remote SSH Extension
- Open VSCode on your Mac
Cmd+Shift+X→ search Remote - SSH- Install it
Connect to Your VPS
Cmd+Shift+P→ Remote-SSH: Connect to Host- Select ailab
- VSCode opens a new window connected to your VPS
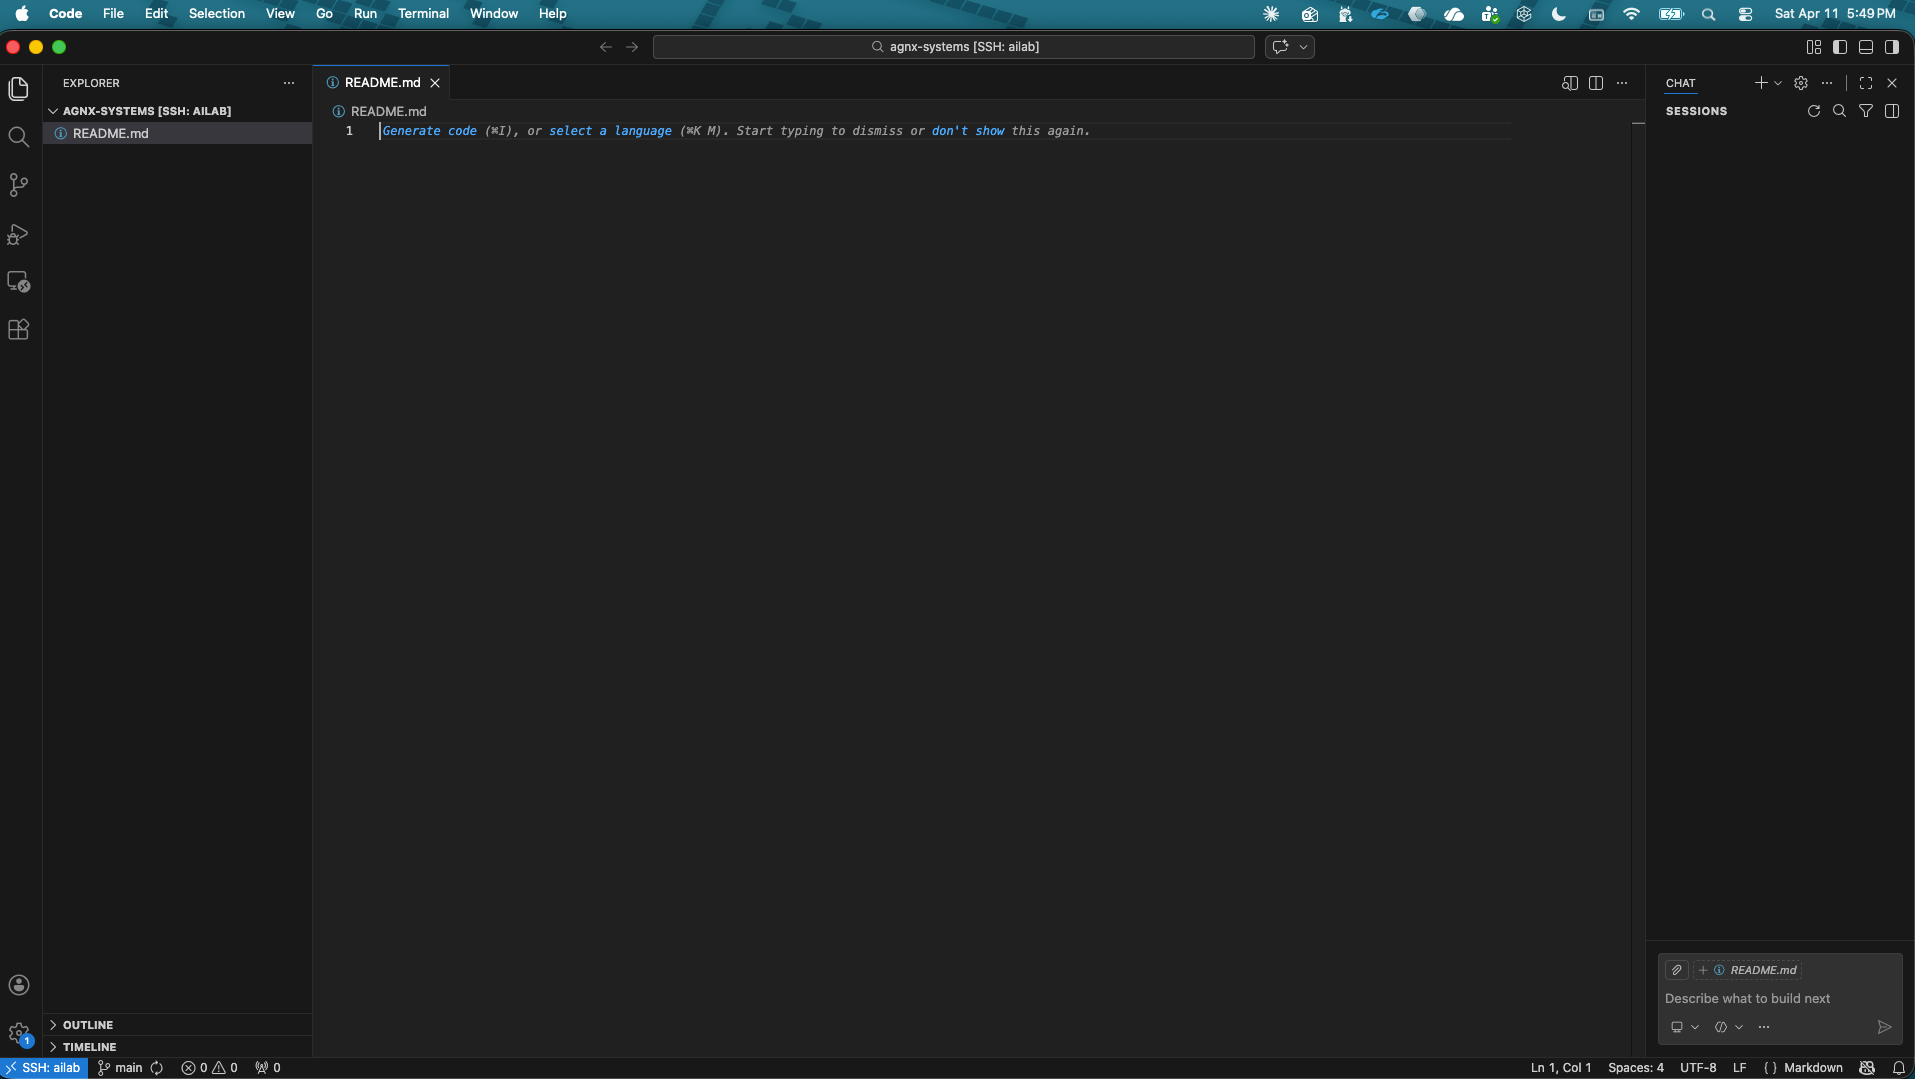
Open Your Project
File → Open Folder → /home/rj/projects/agnx-systems
You're now editing files directly on your VPS inside a full IDE.
Phase 8: Claude Code in VSCode
Here's where it gets interesting. You might think running Claude Code on a headless VPS requires an API key and extra billing on top of your Pro subscription. It does if you run it from the terminal directly — but not if you run it through VSCode.
When Claude Code is installed as a VSCode extension and you're connected via Remote SSH, the OAuth authentication flow runs through your Mac's browser. That means:
- No API key needed
- No extra charges
- Your existing Pro subscription covers it
Install Claude Code Extension
Cmd+Shift+X→ search Claude Code- Install it on the remote (your VPS) when prompted
- Authenticate via browser when it opens — uses your Pro account

The browser will open with an authentication code to paste back into VSCode:

Now you have a full AI-powered dev environment running on your VPS, accessible from your Mac, for the cost of your existing Pro subscription and $24/month for the droplet.
Give Claude Code Full Project Context
One of the most useful things you can do is open VSCode at the ~/projects root level rather than a single project subfolder. This gives Claude Code visibility across all your projects at once — useful when you're building things that share code, reference each other, or when you just want Claude to understand the full picture of what you're working on.
To do this in VSCode:
File → Open Folder → /home/rj/projects
That's the easy part. The more powerful move is giving Claude Code persistent context about what's actually in that workspace so you don't have to re-explain it every session.
CLAUDE.md — Persistent Workspace Context
Claude Code automatically reads a CLAUDE.md file at the root of your workspace on every session. Drop one at ~/projects/CLAUDE.md and it becomes the permanent briefing Claude Code gets before you even say a word.
nano ~/projects/CLAUDE.md
Here's what mine looks like:
# Projects Workspace

## Structure

projects/
  ai-lab/     — AI agent experiments and automation
  personal/   — all active projects

## Active Projects

| Project | Description |
|---|---|
| agnx-systems | AGNX Systems — software + AI agency, blog, whitelabel products |
| sofi-backend | Sofi AI backend service |
| sofi-ai-ui | Sofi AI frontend |
| ecom-shoppinglist-api | Ecommerce shopping list API |
| ecom-shoppinglist-ui | Ecommerce shopping list UI |
| datastructuresalgo | Data structures and algorithms practice |

## Stack

- Backend: Java / Spring Boot
- AI/agents: Python, Node.js
- Standards: see personal/agnx-systems/coding.md
Now every session starts with Claude Code knowing your full project landscape — what exists, how things relate, where the standards live. You stop spending the first five minutes of every conversation re-orienting it.
You can verify it's reading everything by asking: what projects do you see in this workspace? — it should list your folders and reflect what's in your CLAUDE.md.
Managing Claude Code Costs
One thing worth knowing before you start using Claude Code heavily: if you ever run it from the terminal directly (outside of VSCode), it uses the Anthropic API and charges separately from your Pro subscription.
To avoid surprise bills, set a spending limit on your API account:
- Go to console.anthropic.com
- Navigate to Billing → Usage limits
- Set a monthly spending cap (I started with $25)
This way even if you accidentally run Claude Code in API mode, or start experimenting with the Anthropic API directly for your own projects, you have a hard ceiling on charges.
The VSCode Remote SSH setup we covered above uses your Pro subscription directly — no API charges. But as you build out agents and start calling the API from your own code, that limit gives you a safety net while you figure out your actual usage patterns.
tmux: Keep Sessions Alive
One last thing — install tmux habits early. When you disconnect from SSH, any running processes stop. tmux keeps them alive.
# Start a named session
tmux new -s ailab

# Detach (keeps running after you disconnect)
Ctrl+B then D

# Reattach later
tmux attach -t ailab

# Enable mouse support
echo "set -g mouse on" >> ~/.tmux.conf
What's Next
With this setup you have:
- A secure remote dev box you can access from anywhere
- Full VSCode IDE experience on a $24/month VPS
- Claude Code integrated without extra API costs
- A clean project structure ready for serious work
The next post covers turning this into an AI agent lab — installing Claude Code CLI for overnight autonomous runs, structuring agent projects, and running your first experiment.